


How to Guide
Zero Experience Required.
Our premium peel-and-stick technology was designed for real life, making your DIY project effortless and stress-free.
Gather Your Tools
Great design shouldn't require a contractor. All you need are a few household items to get started.

Measuring Tape & Pencil

Utility Knife

Damp Cloth

Smoothing Tool


-
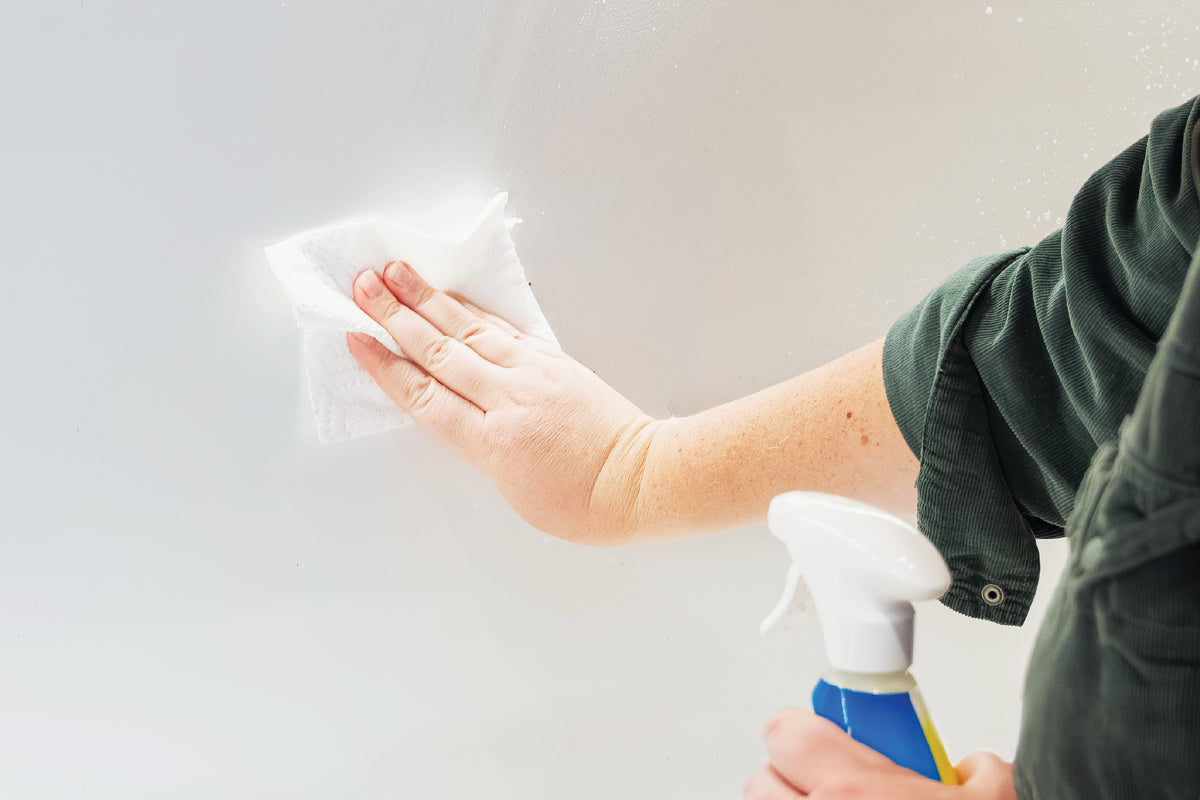
STEP 1
Prep & Clean
Wipe your surface with a damp cloth
to remove any dust or debris. Create a solution of 30% isopropyl alcohol and 70% water for best results. Let it dry completely.
Tip: If you recently painted, wait at least 4 weeks before applying. -
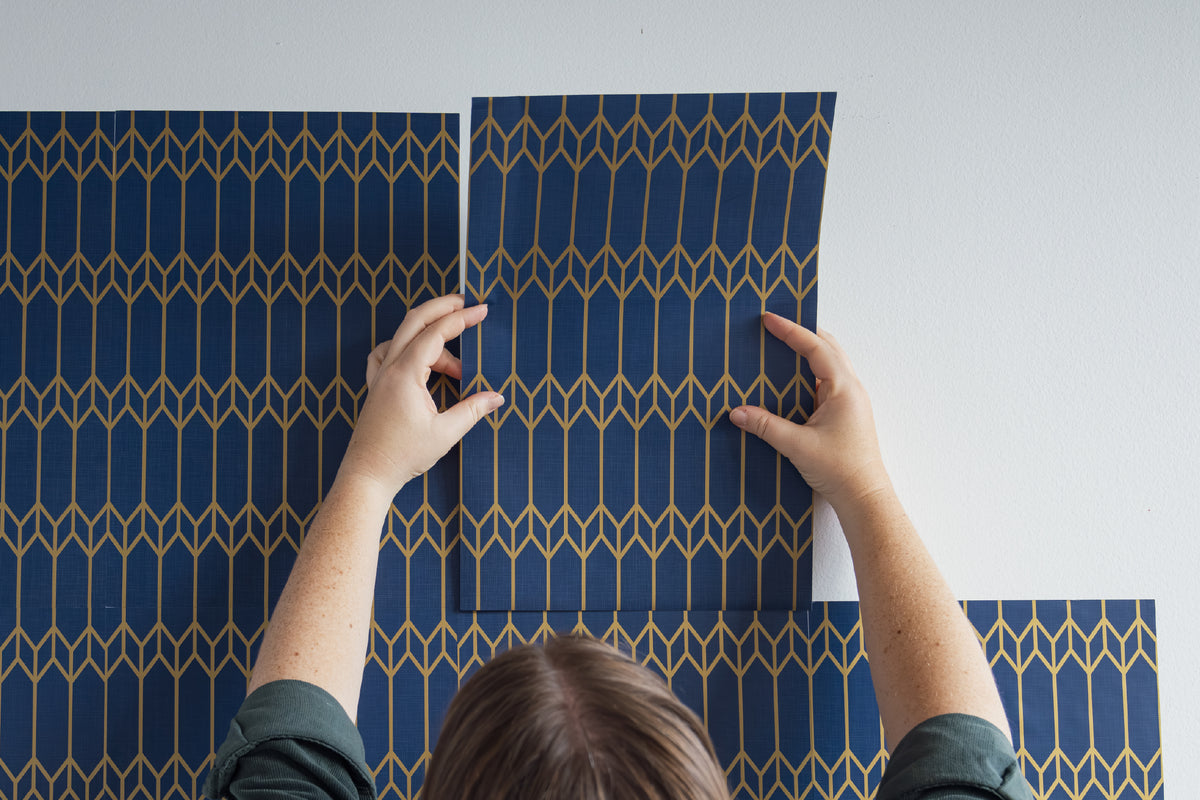
STEP 2
Measure & Align
Measure your space and draw a light pencil line as your guide. Don't rely on ceilings or baseboards—always use a level to ensure your first panel is perfectly straight.
-
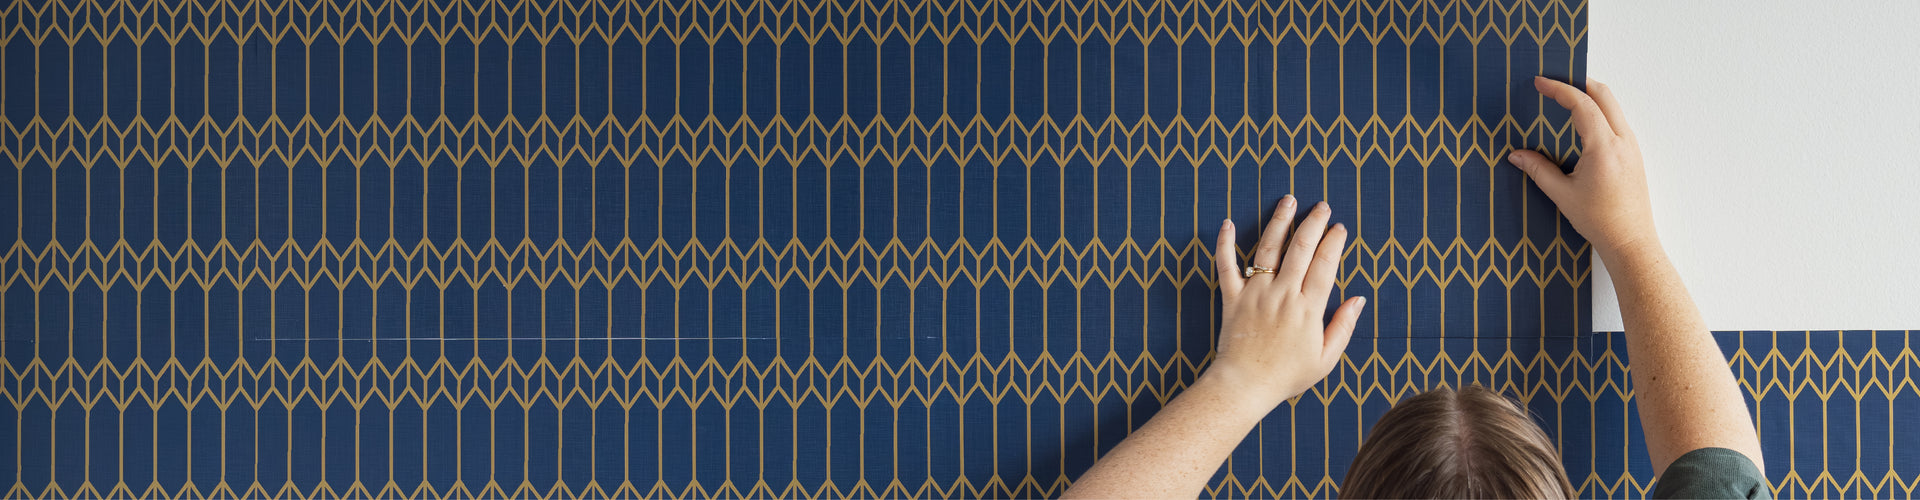
STEP 3
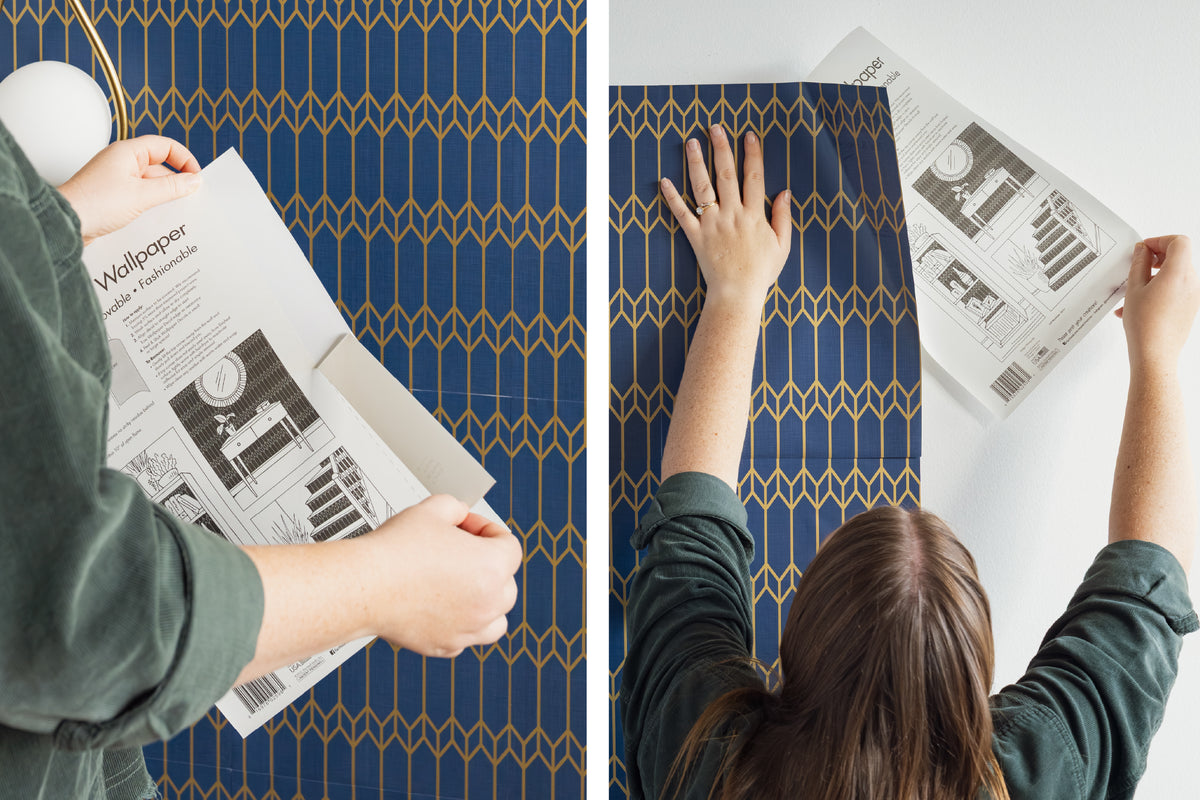
Peel & Stick
The magic happens here. Peel back the first few inches of the backing paper and align the top of the decal to your guideline. Press firmly onto the surface.
-
STEP 4
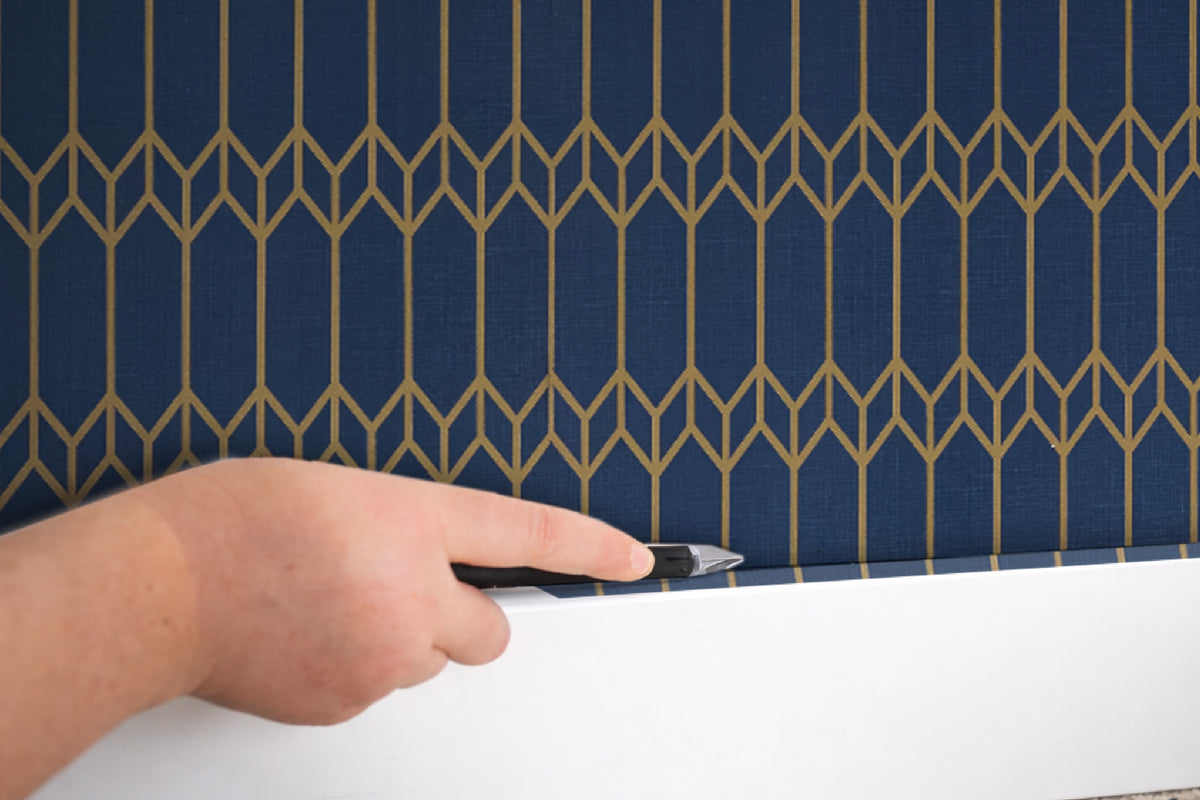
Smooth & Trim
Slowly pull the backing paper downward while using your smoothing tool to push air bubbles outward. Once applied, use your utility knife for a clean trim along the edges. Step back and admire your new space!


See It In Action
Watch our step-by-step video tutorials and learn the insider tricks for a seamless installation.
Best Surfaces
for Application
These surfaces provide the smooth, stable base needed for a clean application and long-lasting finish:
- Smooth tile
- Sealed wood surfaces
- Painted drywall (clean, flat, and dry)


Avoid These Surfaces
These surfaces can compromise adhesion, leading to peeling, bubbling, or reduced durability over time:
- Ceilings
- Textured drywall (popcorn or rough finishes)
- Brick or stone walls
- Areas exposed to moisture (bathrooms, showers, or wet zones)
