


You found the print. You cleared the weekend. The one thing standing between you and a finished wall is a number: exactly how much paper to order. Learning how to measure for peel and stick wallpaper takes about ten minutes and a tape measure, and getting it right means no mid-project panic and no leftover roll gathering dust in a closet. Here is the whole process in five clear steps.
Why measuring first saves the whole project
It is tempting to eyeball it. Resist. Ordering too little means a second order, a wait, and the small chance the dye lot shifts slightly between batches. Ordering wildly too much ties up money you would rather spend on the next room. Spend ten minutes up front and you sidestep both. The math here is genuinely simple, and once you have done one wall the rest of the house feels obvious.
One thing to settle before you start: peel and stick wallpaper comes in two formats, and they are measured a little differently. Flat sheets are sold in packs and suit large surfaces like a full accent wall. Tiles are smaller squares, sold in packs too, and they shine on a backsplash or a half-wall. The steps below work for both. The only rule that never changes: check coverage on the product page before you check out, because every design lists its own exact dimensions per pack.
Step 1: Measure each wall's width and height
Grab a steel tape measure rather than a cloth one, which stretches and lies to you. Measure the full width of the wall from corner to corner, then the full height from baseboard to ceiling. Write both numbers down in inches or feet, but pick one unit and stick with it.
If your wall is not a clean rectangle, that is normal. Sloped ceilings, a chimney breast, a stair wall that climbs at an angle: in those cases, break the wall into rectangles you can measure individually and add them together at the end. Most walls, happily, are just one rectangle.
Step 2: Calculate your square footage
This is the part people brace for and then realize is one line of arithmetic. Multiply width by height for each wall.
- Working in feet: a wall 10 feet wide and 8 feet tall is 10 x 8 = 80 square feet.
- Working in inches: multiply width by height, then divide by 144 to convert to square feet (120 in x 96 in = 11,520, divided by 144 = 80 sq ft).
Measuring more than one wall? Calculate each separately and add the totals. That sum is your raw coverage number, and it is the figure every wallpaper calculator on a product page is really asking for. Keep it handy.
Step 3: Subtract the big openings (and only the big ones)
Doors and large windows do not need paper, so you can deduct them. But be conservative here. Subtract only generously sized openings, and only the obvious ones:
- A standard interior door
- A large picture window or sliding glass door
- A wide built-in or fireplace surround
Skip small stuff. Outlets, light switches, a narrow window, a slim closet door: leave those in your total. You will paper over and trim around them anyway, and you want the extra material. Measure each large opening (width x height), then subtract it from the wall total. Take that 80-square-foot wall, remove a 3-by-7-foot door (21 sq ft), and you are down to roughly 59 square feet of surface that actually needs covering.
Step 4: Add 10 to 15 percent for trimming and pattern repeat
Here is the step that separates a smooth install from a stressful one. Your raw square footage is the bare minimum, and bare minimum is not what you order. Add a buffer of 10 to 15 percent on top.
That cushion covers two real-world things. First, trimming: you will trim at the ceiling, the baseboard, around corners, and along outlets, and every trim cut sacrifices a little material. Second, pattern repeat: any design with a recognizable motif has to line up seam to seam, so you waste a bit of length matching one panel to the next.
When to lean toward 15 percent (or a touch more)
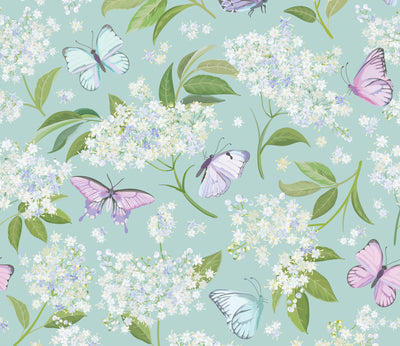
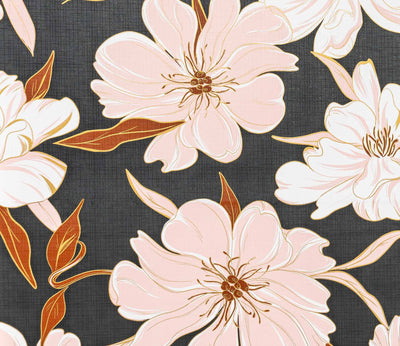
- Large or directional patterns. A bold floral like our Peony Party peel & stick wallpaper sheets has more to match than a small all-over print, so plan for more waste.
- Lots of corners and obstacles. A bathroom or galley kitchen with tight turns eats material.
- It is your first install. A little extra forgives a learning-curve mistake.
When 10 percent is plenty
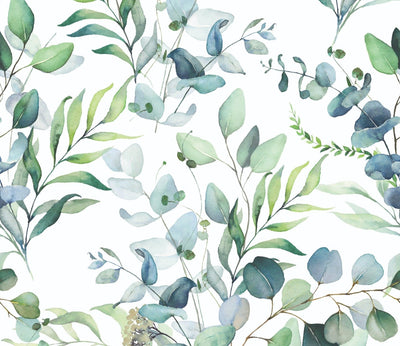
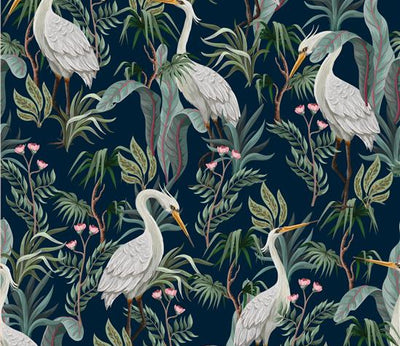
- A simple, forgiving texture. Low-contrast botanicals like Eucalyptus peel & stick wallpaper sheets hide seams and need little matching.
- One clean rectangular wall with few openings.
To add the buffer, multiply your post-deduction number by 1.10 or 1.15. Our 59-square-foot wall becomes about 65 to 68 square feet to order.
Step 5: Convert to packs and round up
Now turn square footage into something you can add to a cart. This is where the sheets-versus-tiles distinction matters, and where you absolutely need the product page open.
If you are buying sheets
Each design's page lists how much area one pack of sheets covers. Take your buffered square footage and divide it by the coverage listed for that product. If a wall needs 68 square feet and a pack covers a certain area, divide and then round up to the next whole pack. You cannot buy two-thirds of a pack, and you do not want to come up short. This is exactly how to answer how much peel and stick wallpaper do I need for a given wall: buffered area, divided by listed coverage, rounded up.
If you are buying tiles
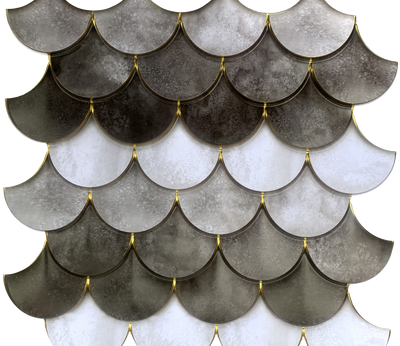
Tiles like our White Subway peel and stick wallpaper tiles are sold by the pack as well, with a tile count and per-tile size on the product page. For a backsplash or half-wall, the same logic applies: find your buffered square footage, see how much area a pack of tiles covers, divide, and round up to whole packs.
Because coverage genuinely varies from design to design, the only reliable source for how many sheets of wallpaper a pack contains is that product's own page. We never publish a one-size number here, because it would be wrong for half the catalog. Treat the listed coverage as the final word.
A worked example, start to finish
Say you are papering one bedroom accent wall behind the headboard, 11 feet wide and 9 feet tall, with a single small window you are leaving in the total.
- Step 1 and 2: 11 x 9 = 99 square feet.
- Step 3: no large openings to subtract, so it stays 99.
- Step 4: it is a soft, low-match print, so add 10 percent: 99 x 1.10 = about 109 square feet.
- Step 5: open the product page, divide 109 by the listed pack coverage, round up to whole packs. Done.
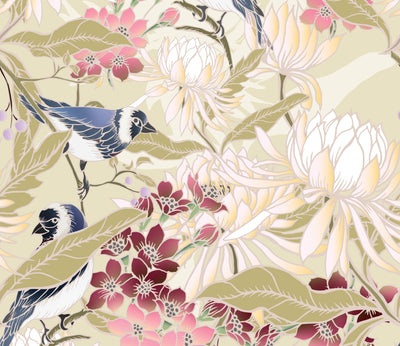
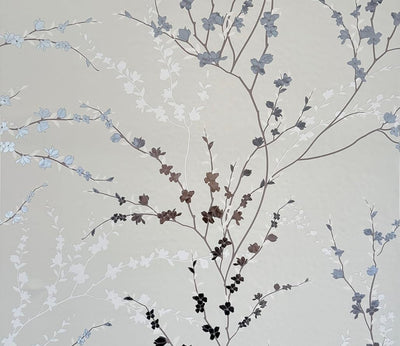
That is the entire method. If you are planning a moodier headboard wall, the same five steps cover a dramatic print like our Indigo Diamonds peel & stick wallpaper sheets just as cleanly. For the install itself, our guide on applying once it arrives walks you through smoothing and trimming, and it is worth reading how to prep the wall before anything goes up. Refreshing a room that already has paper on the walls? See our notes on going over existing wallpaper first.
Walls are design opportunities, and a confident measurement is the first one you get to take. Order a little extra, keep the offcuts for patching down the road, and you will be smoothing your first panel before the coffee goes cold.
Frequently asked questions
How do I measure how much peel and stick wallpaper I need?
Measure each wall's width and height, multiply them for square footage, and add the walls together. Subtract only large openings like doors and big windows. Then add 10 to 15 percent for trimming and pattern repeat, and divide by the coverage listed on the product page, rounding up to whole packs.
How much extra wallpaper should I buy for pattern repeat?
Add 10 to 15 percent on top of your measured square footage. Lean toward 15 percent for large or directional patterns, walls with many corners, or your first install, since matching motifs and trimming waste material. A simple, low-contrast texture on one clean wall needs only about 10 percent extra.
How many sheets of peel and stick wallpaper do I need?
Take your buffered square footage and divide it by the coverage listed for that specific design, then round up to the nearest whole pack. Coverage per pack varies by product, so always check the individual product page rather than assuming a standard number. Rounding up prevents coming up short mid-project.
Featured in this article
Shop the wallpapers mentioned above.


How Much Wallpaper Do You Need? Measure Your Project in 5 Steps

Bedroom Accent Wall Ideas You Can Put Up in a Weekend

Peel and Stick Wallpaper on Cabinets: A Renter's DIY Refacing Guide

How to Fix Peel and Stick Wallpaper: Bubbles, Lifting & Corners

Peel and Stick Wallpaper Ideas for Every Room in Your Home

