


You smoothed the last panel into place, stepped back to admire it, and there it is: a stubborn pocket of air right at eye level. Knowing how to get bubbles out of peel and stick wallpaper (along with how to coax lifting edges and corners back into line) is what separates a wall that looks installed from one that looks finished. The good news is that nearly every post-install hiccup has a quiet, low-drama fix, and most take minutes rather than a do-over.
This guide picks up after the paper is on the wall. If you are still in the planning stage, our full step-by-step install guide and notes on how to prep your walls will set you up so there is less to troubleshoot in the first place. Here, we are fixing what is already up.
How to get bubbles out of peel and stick wallpaper
Air bubbles are the most common complaint, and they are almost always solvable without removing the panel. The trick is to give the trapped air somewhere to go.
Start with the gentlest method. Place a soft cloth or a plastic smoothing tool flat against the wall and push the bubble toward the nearest edge, working in slow, overlapping strokes. Air follows the path of least resistance, so you are simply guiding it out the side or down to the bottom of the sheet. A felt-edged squeegee works beautifully here because it presses firmly without scratching the print.
The pin-prick trick for stubborn bubbles
If a bubble sits in the middle of a panel and refuses to budge, reach for a sewing pin or a craft knife tip. Pierce one tiny hole at the edge of the bubble, then press the air out through that opening with your fingertip or cloth. The puncture is invisible once the surface lies flat. A few pointers:
- Prick at an angle, not straight on, so the hole closes naturally as the paper settles.
- Push from the far side of the bubble toward the hole, not the other way around.
- One small hole beats several. Resist the urge to perforate the whole pocket.
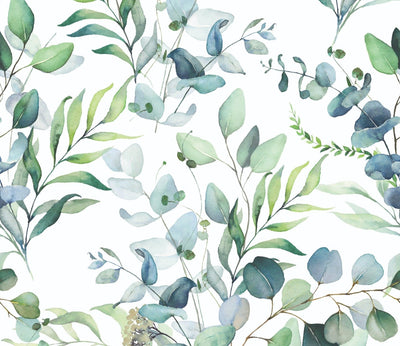
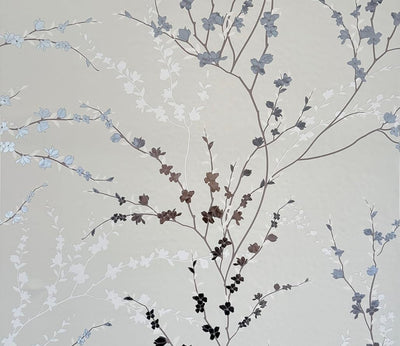
This is the kind of fix that feels almost too easy. A calm, detailed print like our Eucalyptus peel and stick wallpaper sheets hides a pinhole completely, which is one quiet reason busy botanicals are forgiving for first-time installers.
Why peel and stick wallpaper is lifting at the edges
Edges and seams that curl or pull away usually point to one thing: the adhesive never got a clean, firm grip there. Edges take the most stress because they have the least surface area holding them down, so they are the first to reveal a prep shortcut.
Before you re-stick anything, run a finger along the lifting section and ask what it is touching. Dust, a faint film of cleaner residue, or a chalky painted surface will all keep the glue from bonding. Wipe the wall behind the lifted edge with a barely damp cloth, let it dry fully, then press the paper back firmly and hold for ten to fifteen seconds.
When the seams between panels start to show
Peel and stick wallpaper peeling at edges often shows up first along seams, where two panels meet. A small overlap during install can creep open as the material relaxes. To settle a lifting seam:
- Warm the seam gently with a hair dryer on low for a few seconds. Mild heat makes the adhesive tackier and the paper more pliable.
- Press the edge down with a smoothing tool, working from the center of the panel outward.
- If a seam was cut a hair short and leaves a gap, you can't stretch the paper to cover it, so plan seams with a slight overlap next time.
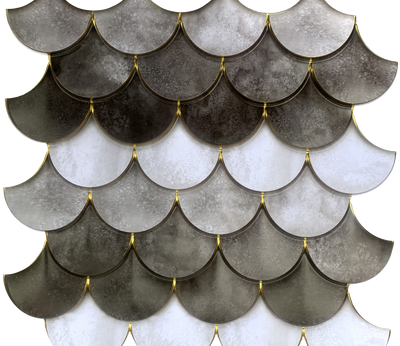
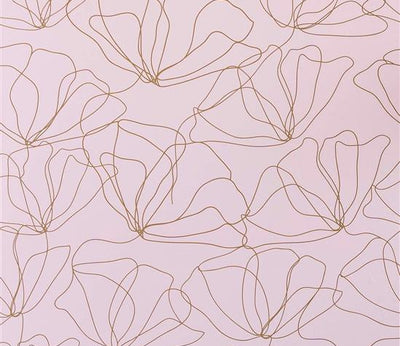
A geometric repeat like our Indigo Diamonds peel and stick wallpaper sheets makes seams easy to line up because the pattern itself tells you when two panels are matched. Forgiving patterns do a lot of quiet work.
How to fix peel and stick wallpaper in corners
Corners are where good installs go to struggle, because you are asking a flat material to wrap around a fold. The fix depends on which kind of corner you are wrestling.
Inside corners
For an inside corner (the kind where two walls meet to form a valley), never try to bend a single panel cleanly around the turn. It will tent and lift every time. Instead, let the panel wrap about a quarter inch onto the second wall, then start the next panel right in the corner, overlapping that small flap. Press the fold in firmly with a smoothing tool so the paper sits tight against the wall on both sides.
Outside corners
Outside corners (where a wall juts toward you, like the edge of a chimney breast) take more patience. Wrap the panel around the corner and onto the adjacent wall by an inch or two, smoothing as you go and pressing out air. If the paper tents at the bend, a few seconds of warmth from a hair dryer makes it relax and conform. For corners that simply won't stay, a tiny dot of wallpaper adhesive or double-sided tape underneath the edge is a fair, low-stakes insurance policy.
Take corners slowly, and go gentler still around any textured or uneven surface, where the paper has more shape to negotiate. There is no prize for speed here.
Why your peel and stick wallpaper won't stick
When a whole section refuses to grip, the wall is almost always telling you something. Peel and stick adhesive is genuinely capable, but it bonds to clean, smooth, stable surfaces and sulks on everything else. If you are wondering how to make peel and stick wallpaper stick better, start with these culprits.
- Dust and residue. Even an invisible layer of dust acts like a release liner. Wash the wall with a little mild soap and water, rinse, and let it dry completely before you commit.
- Fresh or chalky paint. New paint needs roughly two to four weeks to cure, and flat or matte finishes can be powdery. Adhesive grips satin and semi-gloss far more happily.
- Temperature. Cold walls and cold rooms blunt the tack. Aim for normal room temperature during install and for the first day or so afterward.
- Texture. Heavily textured walls give the glue very little to hold. Test a small area first and set realistic expectations on knockdown or orange-peel surfaces.
Our paper is PVC-free, like the kind in your favorite art books, which is part of why it is renter-friendly and removable. That same gentle character means it rewards a clean wall and politely declines a grimy one. For a deeper look at surface readiness, our notes on prepping your walls are worth a read before you blame the paper.
Repositioning without ruining the panel
One of the real joys of peel and stick is that it forgives a wandering hand. If a panel lands crooked, slowly peel it back from the top, keeping the angle shallow rather than yanking straight out. Lifting at a low angle protects both the wall and the paper so you can lay it down again, aligned this time.
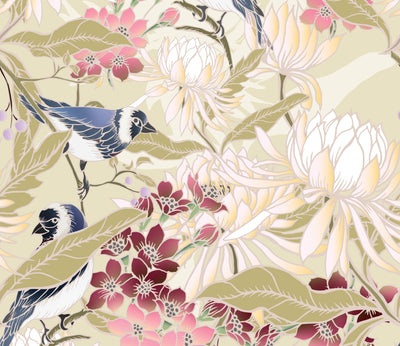
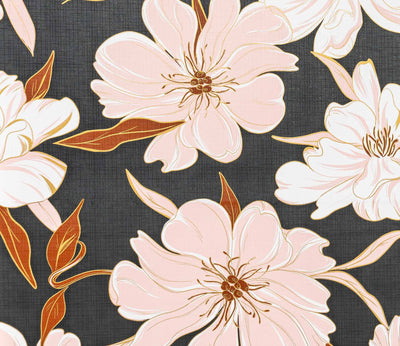
If a panel has been up for a while and feels reluctant to let go, warm it first with a hair dryer to soften the adhesive, then peel gently. The more deliberate you are, the more reusable the panel stays, which is exactly the point of a removable material. A painterly, large-scale print like our Peony Party peel and stick wallpaper sheets is worth this care, since each panel carries a meaningful piece of the overall composition.
Keeping your walls looking good over time
Most post-install problems are really maintenance opportunities. A panel that lifts a touch in month two will press right back down with a warm hand and ten seconds of pressure. Edges in high-traffic spots benefit from an occasional firm re-press as part of normal upkeep, and a quick once-over after a season of humidity swings keeps small issues from becoming big ones.
Treat your walls as design opportunities that deserve a little tending, and they will hold beautifully. If you want the longer view on how the material wears and how to care for it, our guide to care and maintenance covers what to expect over the long haul, no drills, no contractors, no compromises.
Frequently asked questions
How do you get bubbles out of peel and stick wallpaper?
Push the trapped air toward the nearest edge with a soft cloth or smoothing tool, using slow overlapping strokes. For a stubborn bubble in the middle of a panel, prick a tiny hole at its edge with a pin, then press the air out through that opening. The puncture disappears once the surface lies flat.
Why is my peel and stick wallpaper lifting at the edges?
Lifting edges usually mean the adhesive never bonded cleanly, often because of dust, cleaner residue, a chalky painted surface, or fresh uncured paint. Wipe the wall behind the lifted edge with a barely damp cloth, let it dry fully, then press the paper back firmly for ten to fifteen seconds. Gentle heat helps stubborn seams settle.
How do you fix peel and stick wallpaper in corners?
For inside corners, wrap the panel a quarter inch onto the second wall and start the next panel in the corner, overlapping that flap. For outside corners, wrap the paper an inch or two around the bend and warm it with a hair dryer so it conforms. A dot of adhesive underneath keeps reluctant corners in place.
Why won't my peel and stick wallpaper stick?
The wall is usually the reason. Dust, cleaner residue, fresh or chalky paint, cold temperatures, and heavy texture all weaken the bond. Wash the wall with mild soap and water, let it dry completely, work at normal room temperature, and let new paint cure for a few weeks. Always test a small area on textured surfaces first.
Featured in this article
Shop the wallpapers mentioned above.


How Much Wallpaper Do You Need? Measure Your Project in 5 Steps

Bedroom Accent Wall Ideas You Can Put Up in a Weekend

Peel and Stick Wallpaper on Cabinets: A Renter's DIY Refacing Guide

How to Fix Peel and Stick Wallpaper: Bubbles, Lifting & Corners

Peel and Stick Wallpaper Ideas for Every Room in Your Home

