


The ceiling is the one surface almost nobody bothers to decorate—which is exactly why a patterned one feels like such a quiet flex. So it makes sense that peel and stick ceiling wallpaper keeps turning up in search bars and saved inspiration boards, usually next to the words "fifth wall." Before you balance on a ladder with paper over your head, though, here's the honest version of how this tends to go—and a few easier ways to get the same drama.
Is peel and stick ceiling wallpaper actually a good idea?
The short answer: it's possible on a smooth, flat, freshly painted ceiling, but it's the single hardest place to put peel and stick paper—and it's not what we'd steer you toward first. Main Street's own application guide lists ceilings right alongside textured walls and brick under the surfaces to avoid, because the same things that make a wall a friendly canvas (vertical, easy to reach, easy to smooth) all disappear when you flip the project overhead.
That doesn't mean it's never been done. It means going in clear-eyed: a ceiling asks more of the adhesive, more of your arms, and more of your patience than any wall in the house. If you want the look to last, the wall it meets is almost always the smarter target.
Why ceilings are the hardest surface for peel and stick
Peel and stick paper holds because it's pressed flat against a stable surface and gravity quietly helps it stay there. On a ceiling, every one of those advantages flips:
- Gravity works against you. Instead of the wall holding the paper up, the paper is fighting to not fall down. Any spot that isn't perfectly pressed has a head start on peeling.
- The angle is brutal. You're reaching up, often from a ladder, trying to keep a long sheet from folding back and sticking to itself—which it will, instantly, the moment it touches.
- Seams and bubbles show more. Overhead light rakes across a ceiling and highlights every lifted edge or trapped air pocket that a wall would forgive.
- You really need a second person. Solo wall projects are doable. A solo ceiling project is how a relaxing Saturday becomes a forearm workout.
None of this is a knock on the product—it's just physics. The same paper that goes up beautifully on a flat wall is being asked to do its hardest possible job on a ceiling.
Popcorn and textured ceilings: a hard no
If your ceiling has any texture—popcorn, knockdown, or a rough plaster finish—skip the idea entirely. Peel and stick paper needs a smooth, stable base to grip, and a textured surface only touches the adhesive at its raised points, leaving tiny voids underneath where the paper can't bond. The result is poor adhesion, bubbling, and edges that lift within days.
This is the same reason textured walls are tricky, and we go deep on it in does peel and stick wallpaper work on textured walls. The short version: smoothing a textured ceiling enough to wallpaper it is a real renovation—sanding, skim-coating, repainting—which is the opposite of the no-fuss refresh you came here for.
If you still want to try it, give yourself the best odds
Set on a patterned ceiling anyway? Fair enough—just know that Main Street recommends against overhead application, so treat it as an experiment rather than a guaranteed result, and lean on these basics:
- Only a smooth, painted, fully dry ceiling. Flat drywall that's clean and finished—never textured, never freshly painted within the last few weeks.
- Clean first. Wipe away dust and any kitchen film with a damp cloth, then let it dry completely—the same wall-prep basics you'd use on any surface matter even more overhead.
- Bring the right tools. A utility or craft knife, a smoothing tool, a measuring tape, and a pencil—this isn't a "no tools" project, especially upside down.
- Recruit a partner and start small. Two sets of hands, a sturdy ladder, and a modest area (a closet, a nook, a small powder-room ceiling away from moisture) beat tackling a whole living room first.
- Test a single sheet. Press one up, wait a day or two, and see whether it holds before you commit a full pack. Check the product page for the surface and coverage details on the design you choose.
Get the "fifth wall" look without touching the ceiling
Here's the good news: nearly everything people love about a wallpapered ceiling—the unexpected pattern, the cocooning, top-to-bottom feeling—you can get on a vertical surface that's far friendlier to work with and far more likely to last. The trick is to think about where the eye travels rather than literally aiming at the ceiling. A bold pattern up high on a wall, framed by a built-in, or wrapped around a piece of furniture reads as that same "whole room is dressed" effect—just at an altitude you can actually reach.
A few favorites:
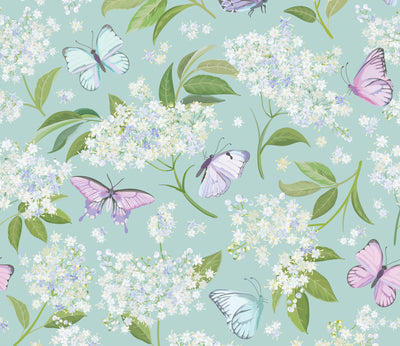
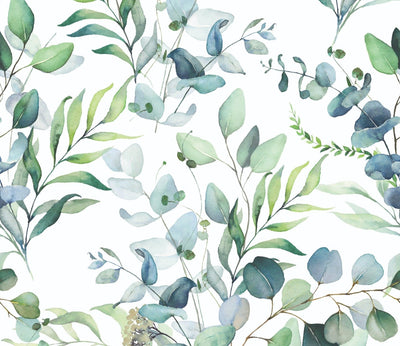
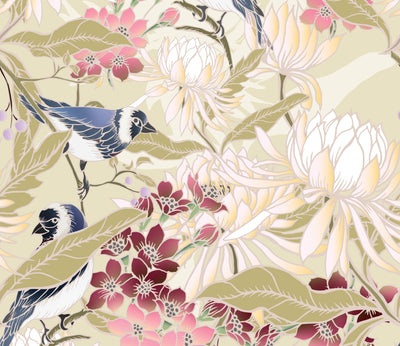
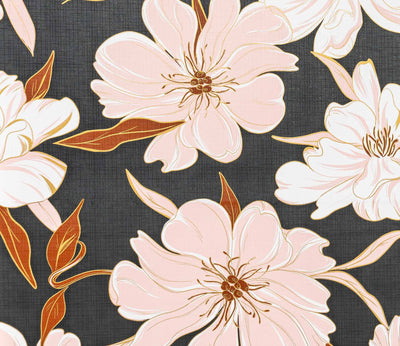
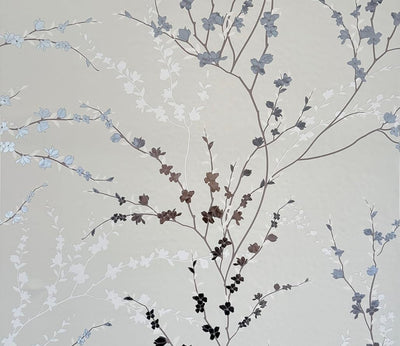
- The wall the ceiling meets. An accent wall behind the bed delivers that "wrapped room" feeling the moment you look up from your pillow—no ladder required. A soft botanical like Eucalyptus or a moody Peony Party floral does the heavy lifting.
- A recessed niche or alcove. Lining the back of a built-in or a shelving nook with a pattern like Gold Woven reads as a designed feature—the architectural drama of a special ceiling, at eye level.
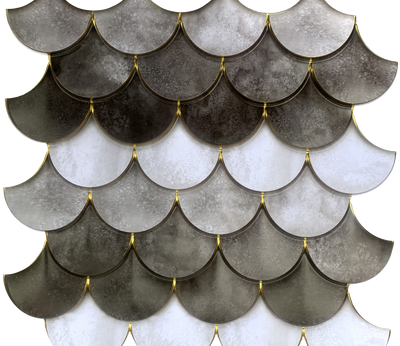
- Furniture and drawer fronts. Some of the most striking peel and stick projects never touch a wall at all. A dresser or sideboard in Indigo Diamonds brings pattern overhead-adjacent without the overhead struggle—see our full guide to wallpapering furniture.
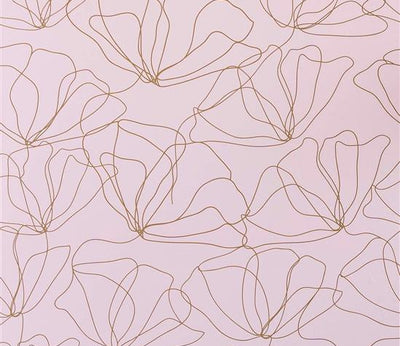
- Shelf backs and the inside of a bookcase. Small, flat, vertical, and forgiving—the perfect place to try a louder print like Floral Sprinkles before going big.
Where peel and stick wallpaper truly shines
Strip away the ceiling experiment and peel and stick paper is genuinely easy to love. It's removable, which makes it renter-friendly—the kind of upgrade you can take back down without a fight when the lease ends. Main Street's sheets come in 11 x 16-inch pieces sized for accent walls, furniture, shelves, and small DIY décor, so you can refresh a corner of a room on a whim instead of committing to a whole renovation.
For the best results, point it at the surfaces it was made for: smooth tile, sealed wood, and clean, flat, dry painted drywall. Because the sheets come in individual pieces rather than one giant roll, you can plan around a precise area—measure your wall or panel, then check the product page for the per-pack coverage so you order enough to finish in one consistent batch. Need more inspiration once your ceiling plans land back on solid ground? Our roundup of peel and stick wallpaper ideas for every room is full of spaces where the payoff comes easy.
Frequently asked questions
Can you put peel and stick wallpaper on a popcorn ceiling?
No—skip it. Popcorn and other textured ceilings only meet the adhesive at their raised points, leaving voids underneath where the paper can't grip. You'll get bubbling and lifting fast. You'd have to skim-coat the ceiling smooth first, which is a full renovation rather than a quick refresh.
Will peel and stick wallpaper stay up on a ceiling?
On a perfectly smooth, clean, dry painted ceiling it can hold, but gravity is constantly working against it, so any imperfectly pressed seam or edge tends to lift over time. It's the most demanding surface for this product, which is why Main Street's guide lists ceilings under surfaces to avoid. Test a single sheet before committing.
What surface does peel and stick wallpaper work best on?
Smooth tile, sealed wood, and clean, flat, dry painted drywall are the sweet spot. Those surfaces give the adhesive a stable base to bond to, so the paper goes up smoothly and stays put. Avoid ceilings, textured or popcorn finishes, brick or stone, and any spot exposed to moisture, like showers.
Can I use peel and stick wallpaper on a bathroom ceiling?
That's the toughest combination, so we'd pass. A ceiling already works against the adhesive, and a bathroom adds steam and humidity—Main Street's guide lists both ceilings and moisture-prone zones under surfaces to avoid. If you want pattern in a bathroom, keep it to a dry accent wall well away from the shower and tub instead.
Is peel and stick wallpaper a good choice for renters?
Yes. Because it's designed to come back down, it lets renters add real personality—an accent wall, a refreshed bookcase, a made-over dresser—without the permanence or damage worries of traditional wallpaper. Stick to the recommended surfaces and check your specific product page for application and removal details.
Featured in this article
Shop the wallpapers mentioned above.

Eucalyptus Peel & Stick Wallpaper Sheets – 12 Pack
$17.63
Indigo Diamonds Peel & Stick Wallpaper Sheets – 12 Pack
$17.63
Peony Party Peel & Stick Wallpaper Sheets – 12 Pack
$17.63
Gold Woven Peel & Stick Wallpaper Sheets – 12 Pack
$17.63
Floral Sprinkles Peel & Stick Wallpaper Sheets – 12 Pack
$17.63
Peel and Stick Wallpaper for the Living Room: Accent Wall Ideas Without the Reno

Is Peel and Stick Wallpaper Renter-Friendly? Apartment Decorating Ideas

Can You Put Peel and Stick Wallpaper on the Ceiling? What to Know First

Peel and Stick Wallpaper Laundry Room Ideas (No Reno Needed)

How Much Wallpaper Do You Need? Measure Your Project in 5 Steps

