



Give the same sheet of paper and the same scissors to a seven-year-old and to a bookbinder, and you get two very different objects back. The material didn't change. The handling did. That gap is the real subject of paper crafts for adults: a small set of techniques that turn a sheet into something you would leave out on a shelf, hand to a friend or stand on top of a cake.
Below are those techniques in the order you use them, then five paper craft ideas for adults that each drill a single skill.
What makes paper crafts for adults look finished
The best adult paper crafts share three things. The edges are clean, with no fuzz, no wobble and no pencil line left behind. The surfaces are flat, or curved on purpose, with nothing buckled by wet glue. And the palette is small: two or three papers that belong together instead of the whole pack.
None of that takes talent. It takes a sharp blade, a little patience and the right paper for each job.
Construction paper, cardstock or adhesive sheets: match the paper to the job
A paper craft is usually two or three kinds of paper working together.
- Construction paper. Inexpensive, soft and sold in solid colors. It tears with a pleasant feathered edge and rolls easily, which makes it good for rolled flowers, torn-paper collage and backing layers. Ordinary construction paper tends to fade in strong light, so keep it away from sunny windows or use it for the layers nobody studies up close.
- Cardstock. The structural paper. Lighter weights, around 65 lb, fold and curl without a fight. Heavier weights, 80 lb and up, stand on their own and make sturdy bases, tags and card blanks.
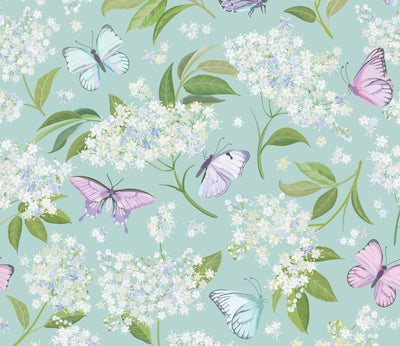
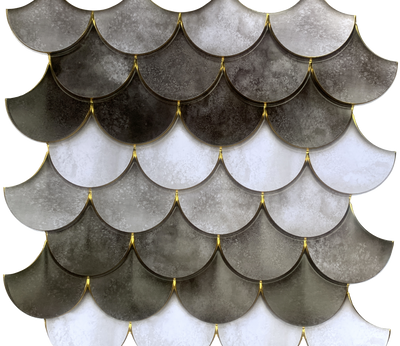
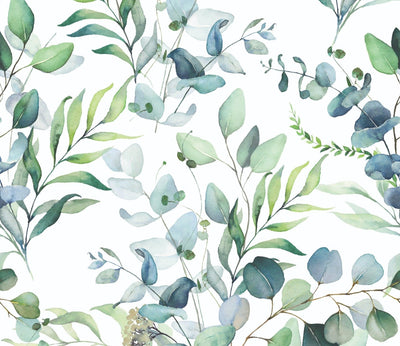
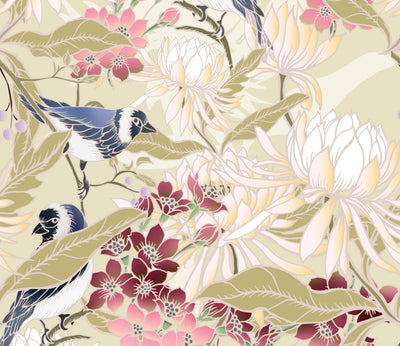
- Self-adhesive patterned sheets. The decorative face. Peel and stick paper puts a printed pattern on a base with no glue and no drying time. Main Street's Classic wallpaper sheets are paper, 11 x 16 inches each, sold in 12-packs.
- Specialty craft paper. One accent, used sparingly: a metallic, an embossed texture or a writable surface.
Cardstock gives the shape, a patterned sheet gives the surface, and construction paper fills in the soft parts. If you are new to the adhesive kind, our explainer on craft wallpaper sorts out the different types.
Cut cleanly: blade, ruler and a mat
Scissors are for curves. Straight lines belong to a craft or utility knife, a metal ruler and a self-healing cutting mat. Three habits do most of the work:
- Change the blade sooner than feels necessary. A dull tip drags and tears the top fibers, and that is where fuzzy edges come from.
- Make two light passes instead of one heavy one. Pressing hard pushes the ruler off its line.
- Turn the paper, not your wrist. On curves, keep your cutting hand in its comfortable position and rotate the sheet into the blade.
With adhesive sheets, cut with the liner still on. It keeps the back clean and gives the blade something firm to bite into. Mark your lines on the liner side too, so no pencil shows on the front, and remember that anything drawn on the back comes out mirrored.
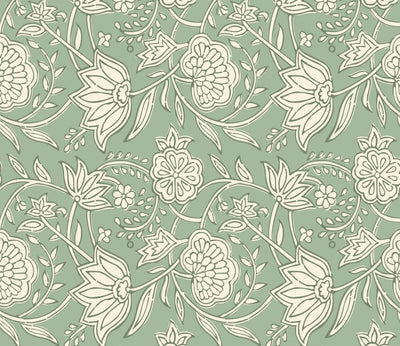
A print with a built-in line gives you a cutting guide for free: the Woven Stripe sheets run in vertical bands of blue, gray and tan, so you can follow a band and get strips that look deliberate. A print with separate motifs, such as the cream flowers on sage green in Block Print Floral, invites the opposite approach. Crafters call it fussy cutting: you cut around one flower and use it as a single element.
Score before you fold, and roll with intent
A fold made by hand in heavy paper cracks along the outside and wanders off line. A scored fold doesn't. Lay a ruler where the fold should go and run a bone folder, an empty ballpoint pen or the back of a butter knife along it with firm pressure. You are pressing a channel into the paper, not cutting it. Then fold along the channel.
Paper also has a grain, the direction most of its fibers run, and it folds more cleanly along it. Bend the sheet gently both ways without creasing it: the direction that resists less is the one to fold with.
Then there is rolling. The paper roses in the photo at the top of this article are the classic example: cut a circle of construction paper or light cardstock into a spiral, roll it from the outer end toward the center, let it relax a little, and fix the base with a dab of glue. This is one job adhesive sheets are wrong for, since a sticky back grabs itself as it rolls. Use them for flat faces and leave the curls to plain paper.
Layer for depth
Flat paper looks like a printout. Stack it and it starts to look like an object. The simplest version is three layers: a base, a mat a little larger than the top piece, and the top piece itself. A border of about an eighth of an inch showing all the way round is enough to frame whatever sits on it.
For real shadow, lift a layer off the one below with small foam adhesive squares. Leaves, petals and letters look far better standing a few millimeters proud of the surface.
Restraint pays here too. Choose one pattern, one solid drawn from that pattern, and one accent. Painters have worked from a limited palette for centuries, and Main Street's founder, Jan McCallum, is a classically trained oil painter. A printed sheet makes the same discipline easy, because the colors are already chosen: pull your solid from the pattern. For the accent, a single sheet of Glow Getter craft paper, an embossed peel and stick foil in a gold finish that measures 10 x 15 inches, goes a long way as lettering or a thin border.
Mount it on a base and finish the edges
Mounting a patterned sheet on cardstock or chipboard before you cut gives you pieces that hold a shape. With adhesive sheets the method is short: peel back an inch of liner, line up one edge, then pull the liner away with one hand while the other smooths from the middle outward with a smoothing tool or an old plastic card.
One caution. The product page lists the application surface for these sheets as painted, sealed and finished surfaces. Coated cardstock and glossy box board behave well. Raw chipboard and kraft card are more absorbent, so test a scrap first, and treat the bond on any card as permanent: peeling the paper off usually takes the top of the card with it.
Then the edges:
- Wrap where you can. Cut the sheet about half an inch larger than the base, clip the corners and fold the margin over to the back.
- Tone a pale core. When you cut through a dark print, the lighter core of the paper can show as a thin line. A marker in a matching color run along the cut edge makes it disappear.
- Burnish. Run the flat of a bone folder along every edge after sticking.
Five easy paper crafts for adults, one technique each
Each fits in an evening and practices one skill from above.
1. A woven panel (cutting)
Mount two contrasting sheets on cardstock and cut both into half-inch strips. Weave them over and under on a card base, tack the ends and trim square. The dark blue and gold lines of Indigo Diamonds against a pale stripe make a strong pairing.
2. A two-paper inlay (precision)
Stack two sheets with their liners on, tape them together and cut one simple shape through both. Swap the cut-outs, and each sheet now holds a perfectly fitted piece of the other. Stick both to a base, such as a clipboard or a tray insert.
3. A rolled rose spray (rolling)
Three spiral roses and a handful of cardstock leaves, glued to a strip of card. Add a word cut from metallic paper, fix it all to a wooden skewer, and you have a cake topper like the one in the photo. Nothing on the product page covers food contact, so keep the paper clear of the frosting and let the skewer do the touching.
4. A layered landscape card (layering)
Tear construction paper into four or five hill shapes, darkest at the front, and stack them on a card blank with foam squares between the layers. The torn edges read as mist.
5. Labeled storage tags (mounting)
Mount Chalkboard Classic craft paper on heavy cardstock, cut tags, round the corners and punch a hole. The surface takes chalk and chalk markers, so the label changes when the contents do.
Once the basics feel easy, the seasonal projects use the same moves. Our Christmas crafts for adults apply them to ornaments, cards and garlands. And when the leftovers pile up, here is how to store craft paper so it stays flat.
Frequently asked questions
What paper crafts can adults make?
Good starting points are greeting cards, woven or inlaid panels for notebook covers and box lids, rolled paper flowers, layered paper landscapes, cake toppers and gift tags. The projects that suit adults best are the ones that reward careful handling: clean cuts, scored folds and a limited palette. Most fit in a single evening with a knife, a ruler and a cutting mat.
What can adults make with construction paper?
Construction paper works well for rolled roses, torn-paper landscapes, leaf sprays and the solid backing layers in cards and collage. It is soft, cheap and easy to roll or tear. Ordinary construction paper can fade in strong light and has a slightly rough surface, so pair it with cardstock for structure and a printed paper for the parts people look at closely.
What is the best paper for paper crafts?
It depends on the job each piece has to do. Cardstock gives structure, with lighter weights for folding and heavier ones for bases and tags. Construction paper suits rolling, tearing and soft backing layers. Self-adhesive patterned sheets add a printed surface without glue. Most projects that look finished combine two or three of these in layers.
Do you need glue for paper crafts?
Not always. Peel and stick paper carries its own adhesive, so flat decorative layers go down with no glue and no drying time. You will still want a small bottle of craft glue or a glue stick for rolled flowers and plain paper, and foam adhesive squares for raised layers. A knife, a metal ruler and a smoothing tool matter more than any glue.
How do you make paper crafts look professional?
Work on the edges and the palette. Cut straight lines with a sharp blade against a metal ruler, score every fold before you make it, and mount thin paper on cardstock so it stays flat. Limit yourself to one pattern, one solid and one accent. Finally, color any pale cut edges with a matching marker and burnish everything down.
Featured in this article
Shop the wallpapers mentioned above.


Crafts to Do With Scrapbook Paper: Seven Projects That Use It Up

Christmas Paper DIY Decorations for Walls, Fireplaces and Bedrooms

Dollar Tree DIY Christmas Decorations: 8 Paper Makeovers for Decor and Gifts

Christmas Crafts for Adults: Paper Projects for One Evening

How to Clean Shelf Liner and Contact Paper, Type by Type


